Ma boutique
AntsKeeper 4-Room Ant Farm with Dry-Wet Separation
AntsKeeper 4-Room Ant Farm with Dry-Wet Separation
Couldn't load pickup availability
Technical Details
4-Room Ant Farm with Dry-Wet Separation
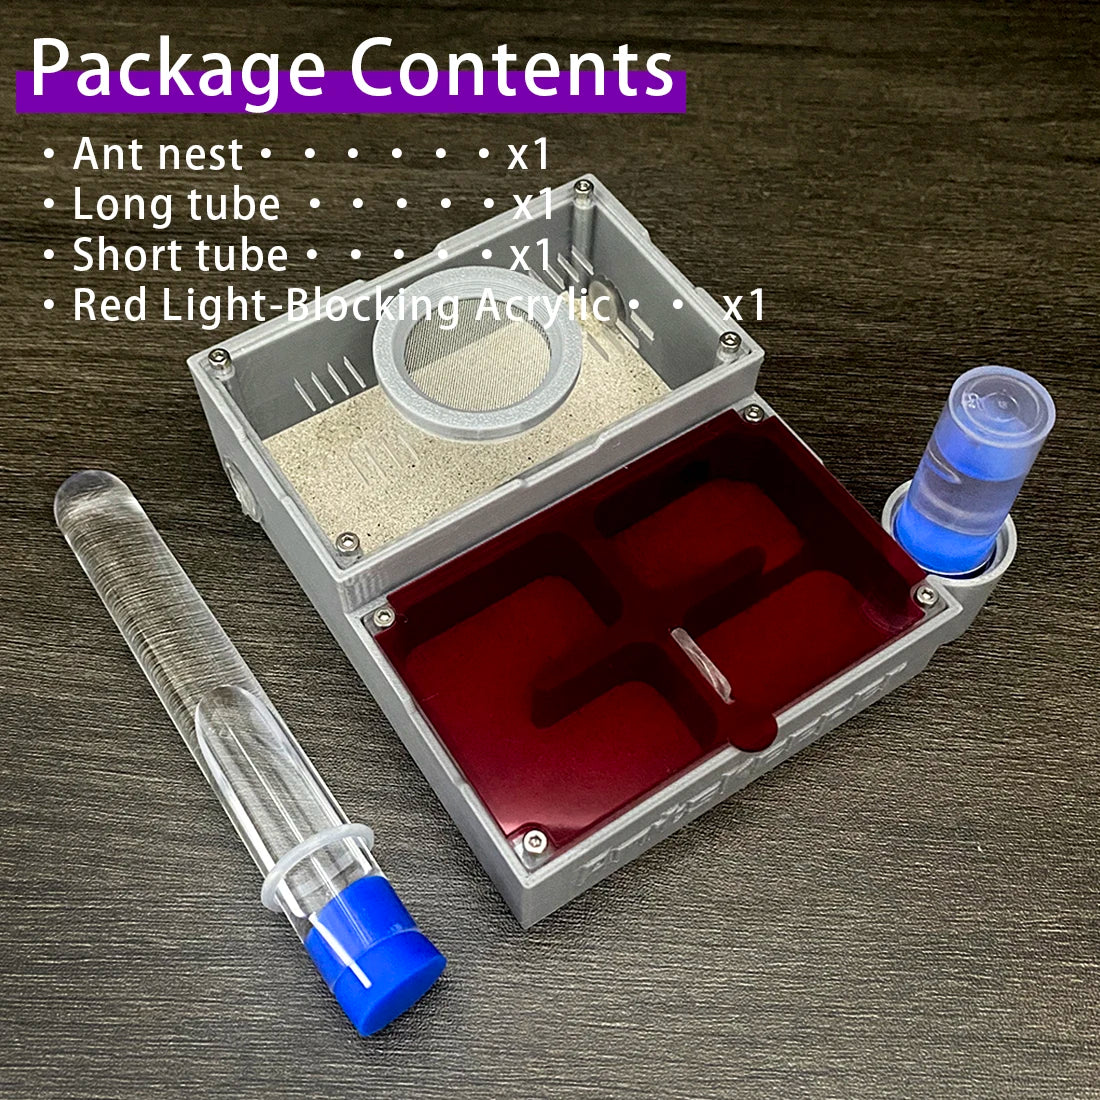
The AntsKeeper 4-Room Ant Farm is a compact formicarium designed for small to medium ant colonies, featuring a built-in dry-wet separation system that keeps your nest chambers at the right humidity without flooding the dry zones. Four interconnected rooms give your workers real space to organize brood, food storage, and waste. Made from durable acrylic, it offers clear visibility on all activity. A solid starter nest and a capable mid-size home for growing colonies alike. Check our ant keeping humidity and temperature guide to dial in the perfect conditions, and browse the full ant nests collection to compare options for your species.
The Big Change
Your Colony Finally Has Room to Breathe
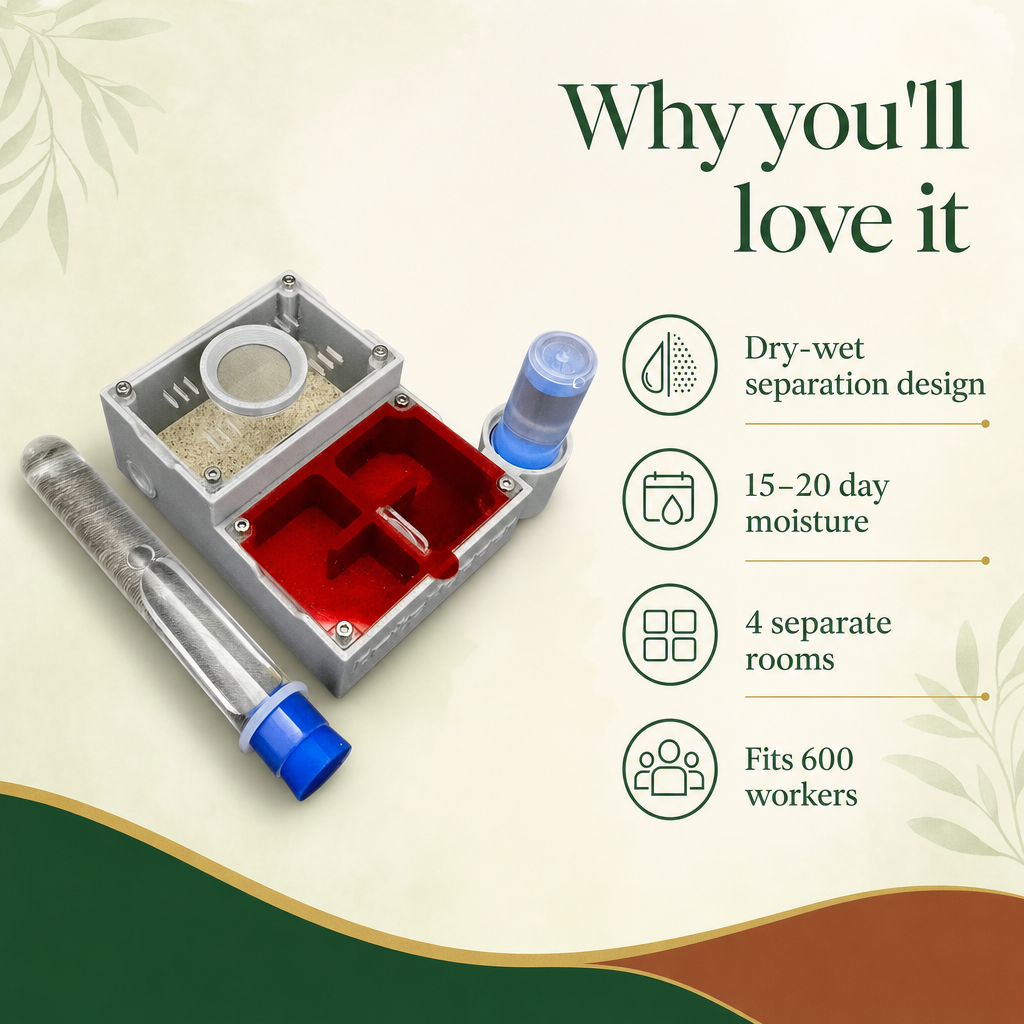
One of the most frustrating moments in ant keeping is watching your queen and her first workers crammed into a single chamber with nowhere to expand. The AntsKeeper 4-Room ant farm ends that. Four separate rooms mean your colony can do what ants do naturally: dedicate space to brood, food, waste, and rest. You stop stressing, they start thriving.
Build & Materials
Clear Acrylic, Smart Dry-Wet Design
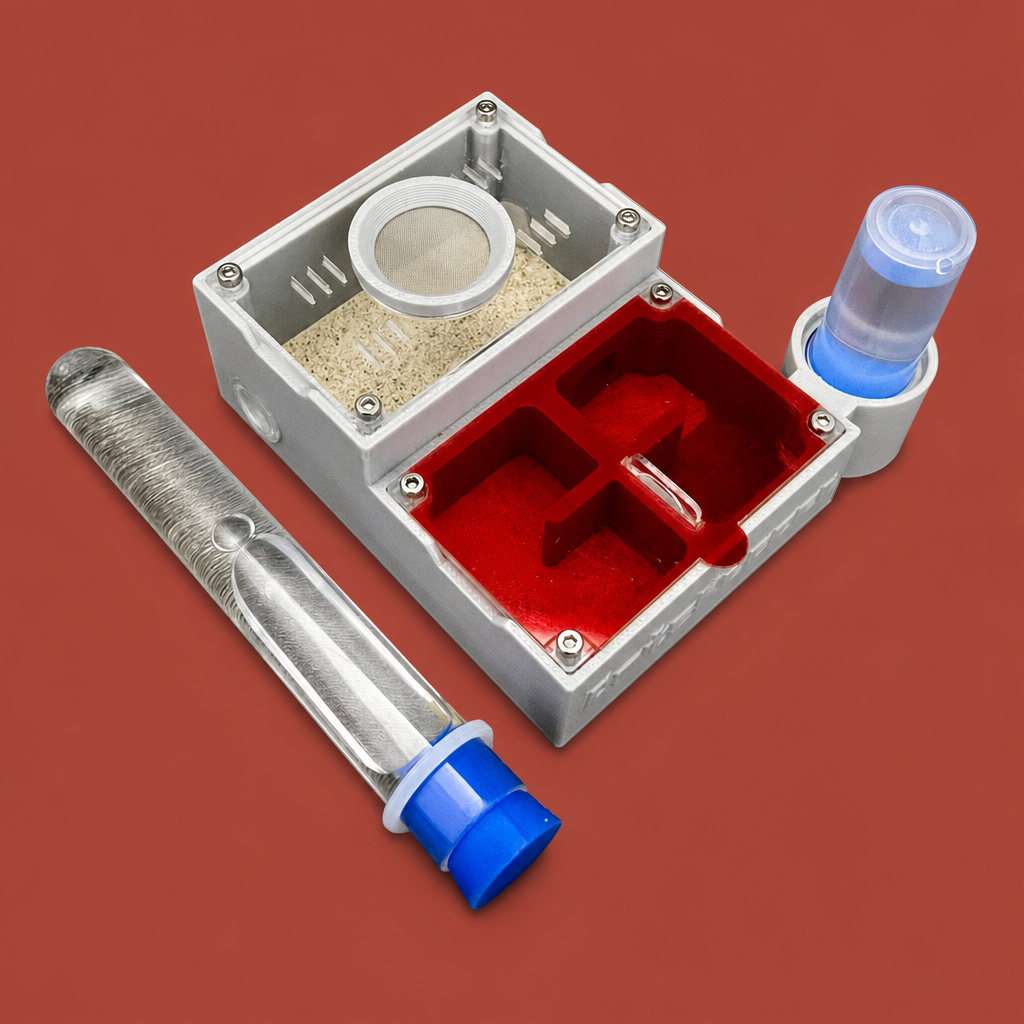
The nest is built from clear acrylic, so you get an unobstructed view of everything happening inside. The standout feature is the dry-wet separation system: moisture stays where you want it, in the humid nesting chambers, without creeping into the dry zones where your ants store food or dump waste. Four rooms, one smart layout, zero guesswork about where to add water.

Picture This
Watch Your Lasius Niger Claim Every Room
You introduce your Lasius niger colony, the common black garden ant, and within hours the workers are already making decisions. Brood moves to the warmest, most humid chamber. Foragers claim a dry room near the exit. The queen settles in. You are not just watching ants, you are watching a society organize itself across four rooms, right on your desk.

Daily Practice
Humidity That Stays Put, Day After Day
In practice, the dry-wet separation saves you real maintenance time. You add water to the wet side, and the dry chambers stay dry. No soggy food area, no mold creeping across the whole nest. For species like Messor barbarus, the seed-harvesting ant that needs strict dry food storage, this design is not just convenient, it is genuinely important for colony health.
FAQ
Your Questions Answered
What size colony is this ant farm designed for?
The AntsKeeper 4-Room is built for small to medium ant colonies. It works well from the founding stage with a new queen and her first workers, and has enough room to support a growing colony before you need to think about expanding to a larger setup.
How does the dry-wet separation system actually work?
The nest has dedicated wet and dry zones built into its layout. You add water to the humid side to maintain moisture in the nesting chambers, while the dry chambers stay completely separate. This prevents flooding, mold in food storage areas, and the humidity imbalance that stresses many ant species.
What ant species work best in this formicarium?
Any small to medium species fits well here. Common beginner species like Lasius niger or Messor barbarus, the seed-harvesting ant, are great matches. The dry-wet separation is especially useful for Messor, which needs dry food storage. Avoid very large species like big Camponotus colonies that will outgrow it quickly.
Is the acrylic easy to clean and maintain?
Acrylic is smooth and non-porous, so waste and debris do not stick the way they can in rougher materials. A soft damp cloth handles most surface cleaning. The four-room layout also helps because ants naturally designate a waste chamber, keeping the rest of the nest tidier with minimal intervention from you.
Can I connect this nest to an outworld or expand it later?
The product description does not specify connector ports or expansion compatibility, so check the physical unit for port sizes before purchasing tubing or an outworld. If expandability is a priority for your setup, browsing the full ant farm kits collection will show you which nests are confirmed modular.